Let me start by saying, I hate painting. It might be the trauma suffered over 24 years in the Irish Navy where the motto appeared to be "if it moves, salute it, if it doesn't move, paint it." I hate the prep work, I hate the application but most of all I hate paying someone a ton of money to do a so-so job. Sure, if I was prepared to pay out $$$$$$ I could get a yard to spray Awlgrip and have a lovely paint job. But its still a 40 year old boat, with all the wear and tear that goes with that.
If I was in a location with reasonably priced labor, like
Sea Biscuit, I would probably spring to have a crew spray the hull. If I go this route I would still favor Quantum 99 over Awlgrip due to repair-ability.
The options most of us DIY types have are;
1. Get a local painter to roll and tip Awlgrip. I have seen some lovely work. More often, I've seen lots of "adequate" work. The price difference is not huge, its a bit of a crap shoot. Awlgrip cannot be sanded out to remove imperfections or repaired afterwards. My "ballpark" for a good painter in Miami is about $10K for the deck alone and I think that's on the low side.
2. Paint with Interlux two part, or similar. I don't think this is long lasting enough to justify the time and effort involved.
Then along came Quantum 99 paints. Read the history here;
http://quantumpaint.com/about-us/
Today I went to a seminar in Forth Lauderdale taught my Jon Boswell. It was attended by a group of professional painters for the area. I kept my head down (yes I know, not easy for me) and watched them spray paint. Impressive, but I think they are the wrong audience for this product. I believe that some yards are using it but the change over from Awlgrip or Awlcraft won't be led by the shooters. As the customer pays for the paint why should the risk learning new tricks and probably botch a job in the process. This is why Awlgrip has been around since 1973.
My interest was in rolling this paint. (Note: tipping is not necessary or recommended). Here are some photos;
Seminar.
The Genius bucket, everything you need in a bucket;
https://www.jamestowndistributors.com/userportal/show_product.do?pid=336090
The aforementioned Jon Boswell.
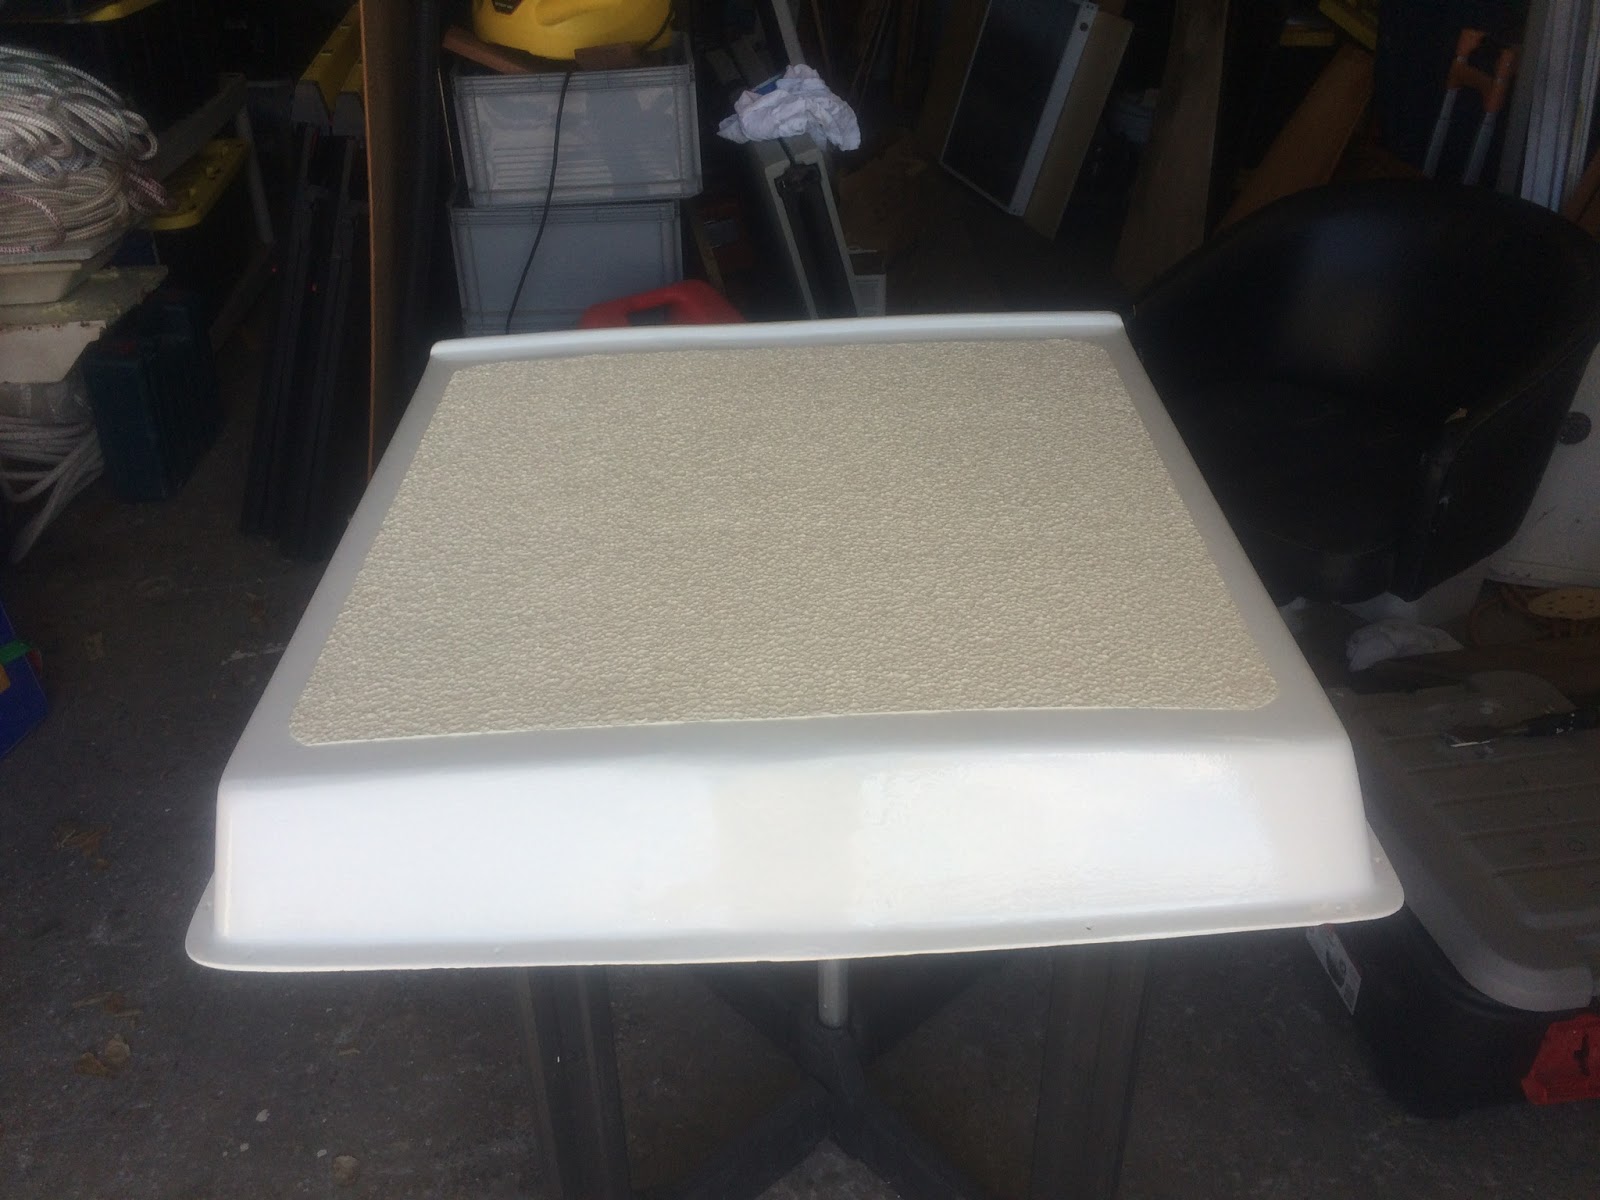
My first attempt at rolling on this paint. I'm sure I'll get better.
My second attempt. Getting better might take some time.
A few points;
1. This paint goes a LONG way. Don't compere it gallon to gallon with Awlgrip. Jon stated that 2 gallons painted a 50ft Beneteau hull. You have to roll most of the paint off the roller and really stretch it out on the surface. The last roll should be in one direction and light.
2. You can overcoat in 3 hours but better to wait overnight and sand out imperfections. Did I mention that you can sand and repair this paint.
3. It contains more solids that Awlgrip.
4. I will definitely use the Quantum 45 Epoxy primer on the deck, first.
5. I will still probably use Kiwigrip for the non skid.
I'm not saying that my deck with look as good as your sprayed Awlgrip, but I may have 10 cases of good single malt in my bilge, bought with the money saved, to ease the shame and embarrassment.
"I have no vested interest in this product and have not been bribed in any way. Obviously, being a sailor I am always open to corruption."